How it works
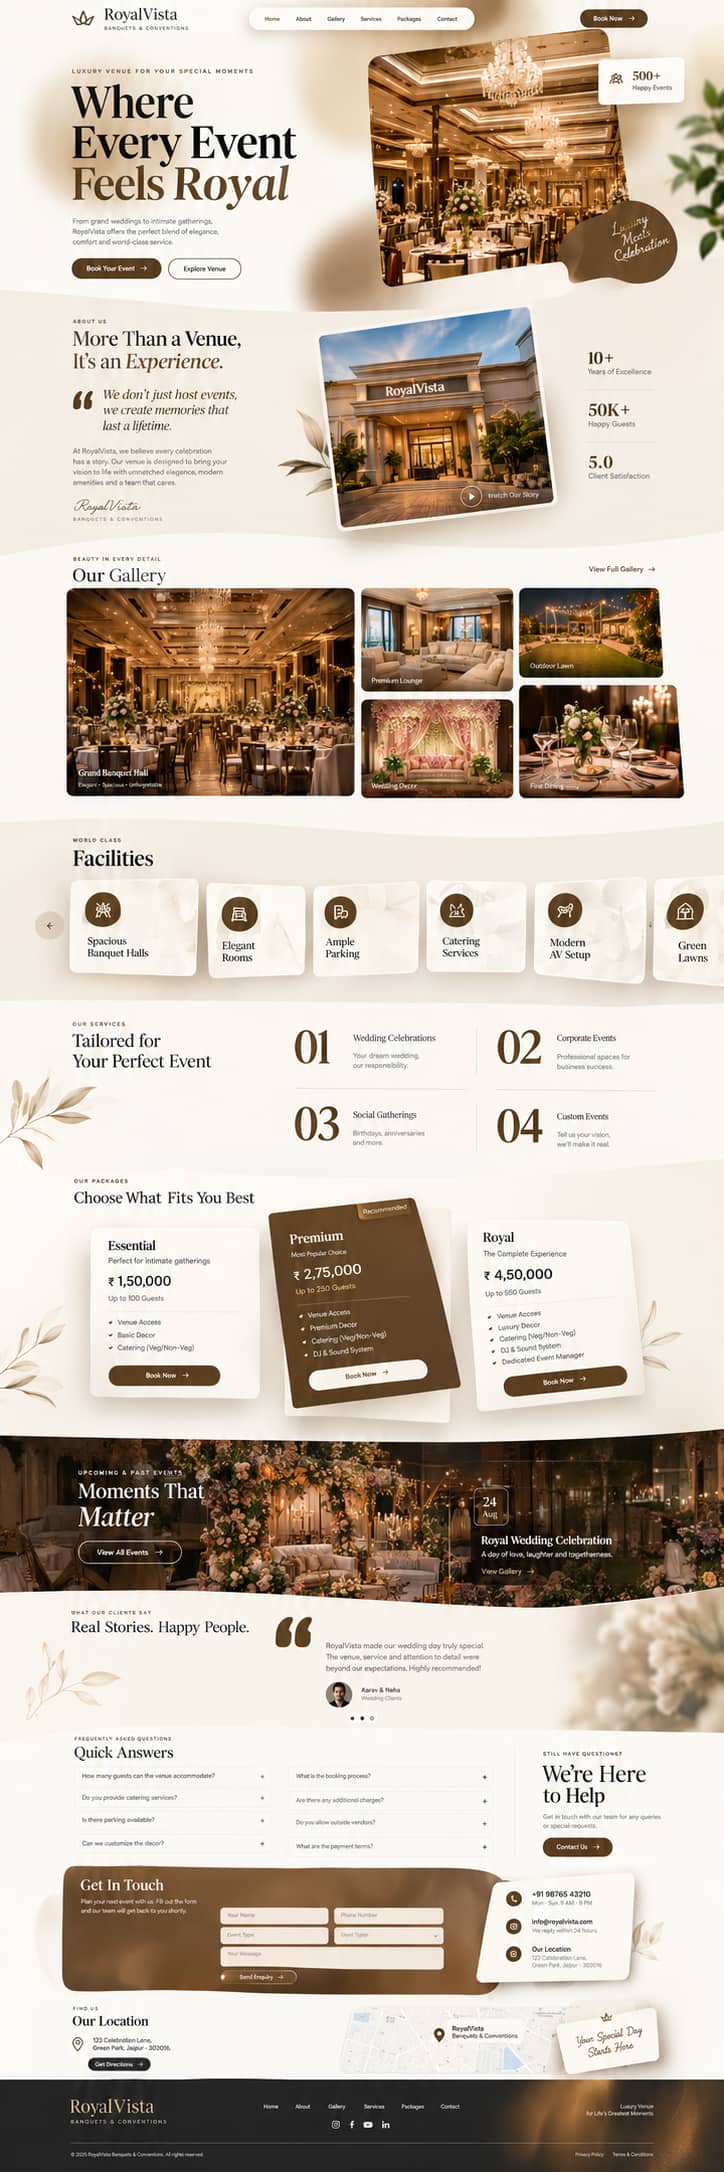
From signup to a live subdomain — create your account, add venue details, pick a template, publish, and start receiving enquiries.
Step 01
Sign up with email or Google in under a minute. Verify once, then your venue workspace is ready — no sales call, no credit card.
Step 02
Add business name, city, capacity, facilities, and pricing. We use this to pre-fill every template so you start with real content, not placeholders.
Step 03
Pick a layout built for Indian lawns, banquets, and resorts. Preview on desktop and mobile before you commit.
Step 04
Set brand colors, logo, and sections. Preview the guest-facing site, then publish when it looks right.
Step 05
Go live on your subdomain instantly. Mobile-responsive and SEO-ready out of the box — share the link with guests the same day.
Step 06
Guest enquiry forms land in your dashboard. Track status, follow up, and never lose a lead in WhatsApp chaos again.
Step 07
One-tap WhatsApp chat, call, and enquiry buttons on every page — so interested guests reach you the way they already prefer.
Step 08
Watch visits, enquiries, and bookings climb. Update photos and copy anytime without waiting on an agency.
Elegant · Professional · Ready in minutes
Get Started Now LawnAndHall